Getting Started with MCP: A Developer's First Steps

Introduction
The landscape of artificial intelligence is constantly evolving, and with it, the need for standardized protocols to connect AI models with external systems. The Model Context Protocol (MCP) has emerged as a powerful open-source standard that addresses this challenge, providing a unified interface for AI applications to interact with tools, data sources, and other services [1]. For developers, MCP opens up a world of possibilities for creating more extensible, maintainable, and powerful AI-driven applications.
This article serves as a comprehensive guide for developers taking their first steps with MCP. We will delve into the core concepts of the protocol, walk through the process of setting up a development environment, and build a simple yet functional MCP server from scratch. By the end of this tutorial, you will have a solid understanding of MCP and the practical skills to start building your own integrations.
Understanding MCP: Core Concepts
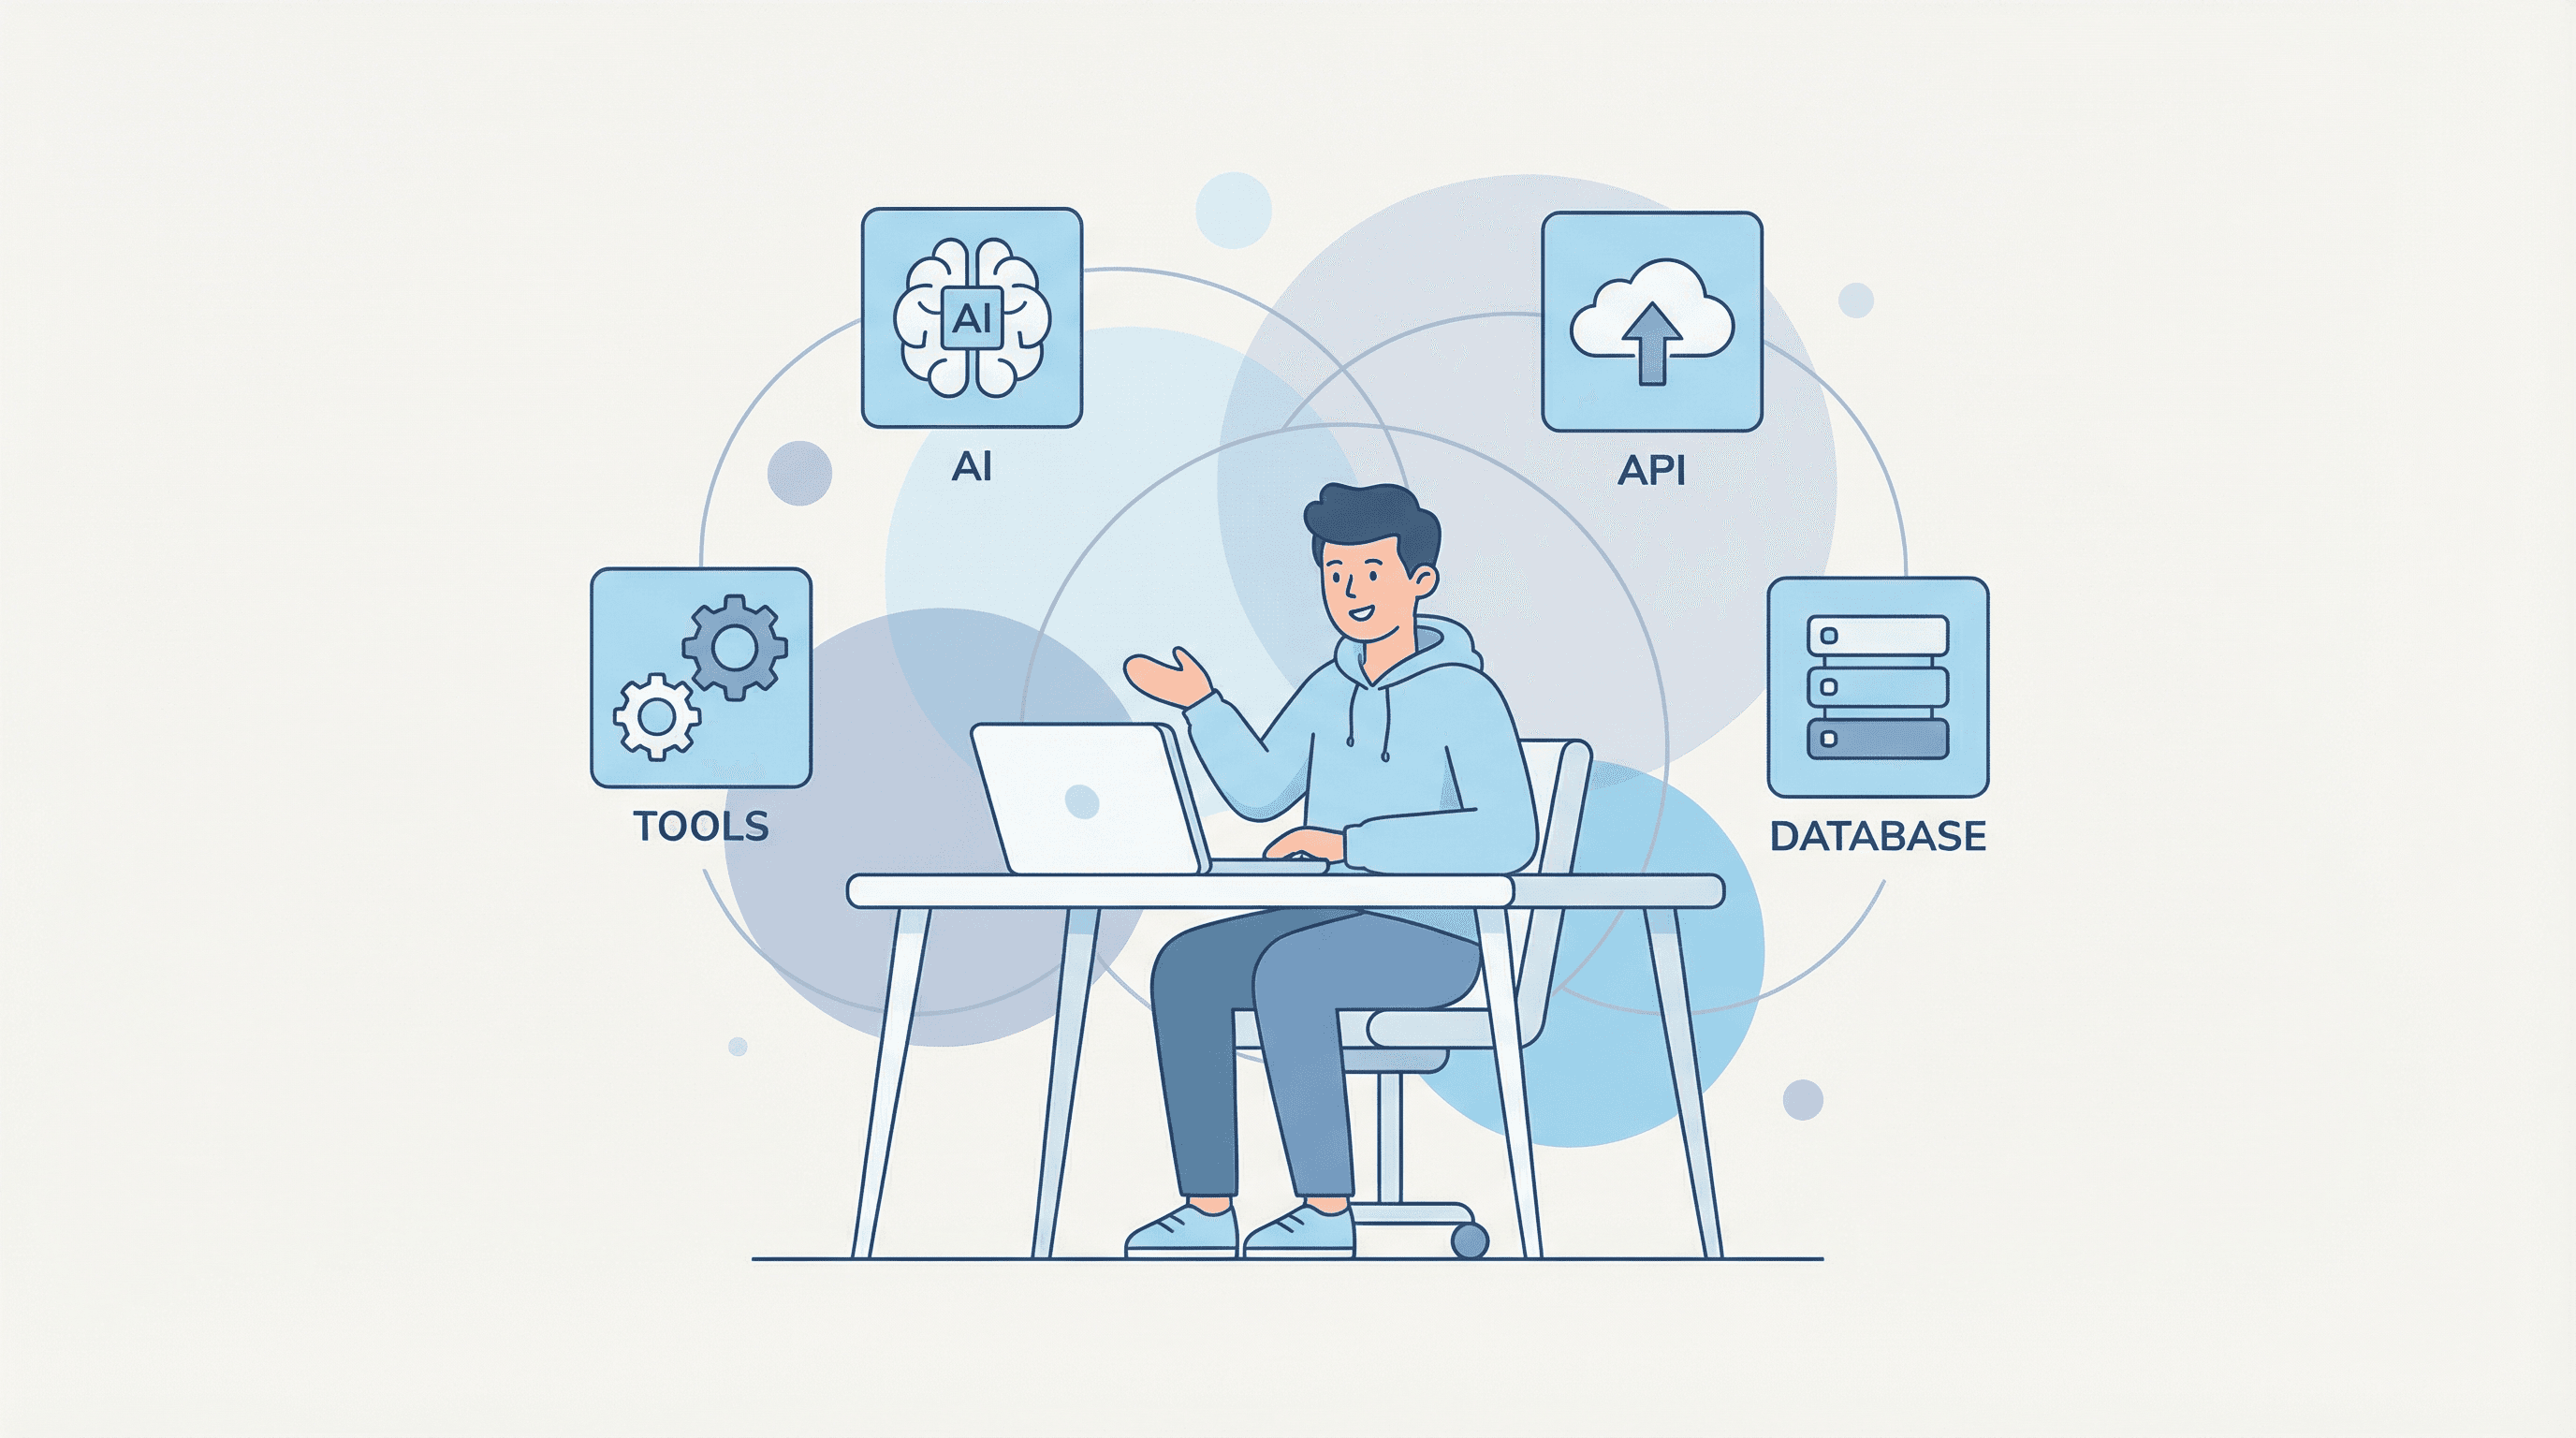
Before we dive into the practical aspects of building an MCP server, it is crucial to understand the fundamental concepts that underpin the protocol. MCP is designed to be a flexible and extensible framework, and its architecture revolves around three key components: Resources, Tools, and Prompts [2].
| Component | Description |
|---|---|
| Resources | Resources represent file-like data that can be accessed and read by MCP clients. This can include a wide range of information, such as API responses, file contents, or data from a database. By exposing data as resources, you can provide AI models with the context they need to perform tasks and answer questions accurately. |
| Tools | Tools are functions that can be executed by the Large Language Model (LLM) with the user's approval. They are the building blocks of MCP's interactive capabilities, allowing AI models to perform actions in the real world, such as sending emails, querying databases, or interacting with other APIs. Each tool is defined with a specific function signature and a clear description of its purpose, which enables the LLM to understand when and how to use it. |
| Prompts | Prompts are pre-written templates that guide users in accomplishing specific tasks. They can be used to streamline common workflows and provide users with a starting point for interacting with the AI model. By defining a set of prompts, you can make your MCP server more user-friendly and accessible to a wider audience. |
By combining these three components, developers can create powerful and sophisticated MCP servers that extend the capabilities of AI models in meaningful ways. In this tutorial, we will primarily focus on the implementation of Tools, as they are the most common and versatile feature of MCP.
Setting Up Your Development Environment
Now that we have a conceptual understanding of MCP, let's get our hands dirty and set up a development environment. For this tutorial, we will be using Python and the FastMCP library, which provides a convenient way to build MCP servers. We will also use uv, a fast Python package installer and resolver, to manage our project dependencies.
Prerequisites
Before you begin, make sure you have the following installed on your system:
- Python 3.10 or higher
curl(for macOS/Linux) or PowerShell (for Windows)
Step 1: Install uv
uv is a next-generation Python package manager that is designed to be extremely fast and easy to use. To install uv, open your terminal and run the following command [2]:
For macOS and Linux:
curl -LsSf https://astral.sh/uv/install.sh | sh
For Windows:
powershell -ExecutionPolicy ByPass -c "irm https://astral.sh/uv/install.ps1 | iex"
After the installation is complete, restart your terminal to ensure that the uv command is available in your system's PATH.
Step 2: Create a Project and Install Dependencies
With uv installed, we can now create a new project for our MCP server. In your terminal, navigate to the directory where you want to create your project and run the following commands:
# Create a new directory for our project and navigate into it
mkdir weather-server && cd weather-server

# Create a new virtual environment
uv venv

# Activate the virtual environment
# On macOS and Linux:
source .venv/bin/activate
# On Windows:
.venv\Scripts\activate

# Install the required dependencies
uv add "mcp[cli]" httpx
These commands will create a new directory called weather-server, initialize a virtual environment inside it, activate the environment, and install the mcp and httpx libraries. The mcp[cli] package includes the core MCP library as well as the command-line interface, which is useful for testing and debugging. httpx is a modern and fully-featured HTTP client for Python that we will use to make requests to an external weather API.
Building Your First MCP Server
With our development environment set up, we can now start building our first MCP server. In this tutorial, we will create a simple weather server that exposes two tools: get_alerts for fetching weather alerts for a given US state, and get_forecast for retrieving the weather forecast for a specific location. This will demonstrate how to define tools, interact with an external API, and format the data for the LLM.
Step 1: Create the Server File
First, create a new Python file named weather_server.py in the root of your weather-server project directory. This file will contain all the code for our MCP server.
Step 2: Import Packages and Initialize the Server
Open weather_server.py in your favorite code editor and add the following code to import the necessary packages and initialize the FastMCP server:
from typing import Any

import httpx
from mcp.server.fastmcp import FastMCP

# Initialize the FastMCP server with the name "weather"
mcp = FastMCP("weather")

# Define constants for the National Weather Service (NWS) API
NWS_API_BASE = "https://api.weather.gov"
USER_AGENT = "weather-app/1.0"
In this code, we import the Any type from the typing module, the httpx library for making HTTP requests, and the FastMCP class from the mcp.server.fastmcp module. We then create an instance of the FastMCP server and give it the name "weather". This name will be used to identify the server when connecting to it from a client. Finally, we define two constants: NWS_API_BASE for the base URL of the National Weather Service API, and USER_AGENT to identify our application when making API requests.
Step 3: Implement Helper Functions
Next, let's add some helper functions to interact with the NWS API and format the data. Add the following code to your weather_server.py file:
async def make_nws_request(url: str) -> dict[str, Any] | None:
    """Make a request to the NWS API with proper error handling."""
    headers = {"User-Agent": USER_AGENT, "Accept": "application/geo+json"}
    async with httpx.AsyncClient() as client:
        try:
            response = await client.get(url, headers=headers, timeout=30.0)
            response.raise_for_status()
            return response.json()
        except Exception:
            return None

def format_alert(feature: dict) -> str:
    """Format an alert feature into a readable string."""
    props = feature["properties"]
    return f"""
Event: {props.get("event", "Unknown")}
Area: {props.get("areaDesc", "Unknown")}
Severity: {props.get("severity", "Unknown")}
Description: {props.get("description", "No description available")}
Instructions: {props.get("instruction", "No specific instructions provided")}
"""
The make_nws_request function is an asynchronous function that takes a URL as input and makes a GET request to the NWS API. It includes error handling to catch any exceptions that may occur during the request. The format_alert function takes a single alert feature from the API response and formats it into a human-readable string.
Step 4: Implement the Tools
Now for the most important part: implementing the tools that our MCP server will expose. We will use the @mcp.tool() decorator to define our tools. The FastMCP library will automatically generate the tool definitions from the function signatures and docstrings.
Add the following code to your weather_server.py file to implement the get_alerts and get_forecast tools:
@mcp.tool()
async def get_alerts(state: str) -> str:
    """Get weather alerts for a US state.

    Args:
        state: Two-letter US state code (e.g. CA, NY)
    """
    url = f"{NWS_API_BASE}/alerts/active/area/{state}"
    data = await make_nws_request(url)

    if not data or "features" not in data:
        return "Unable to fetch alerts or no alerts found."

    if not data["features"]:
        return "No active alerts for this state."

    alerts = [format_alert(feature) for feature in data["features"]]
    return "\n---\n".join(alerts)


@mcp.tool()
async def get_forecast(latitude: float, longitude: float) -> str:
    """Get weather forecast for a location.

    Args:
        latitude: Latitude of the location
        longitude: Longitude of the location
    """
    # First get the forecast grid endpoint
    points_url = f"{NWS_API_BASE}/points/{latitude},{longitude}"
    points_data = await make_nws_request(points_url)

    if not points_data:
        return "Unable to fetch forecast data for this location."

    # Get the forecast URL from the points response
    forecast_url = points_data["properties"]["forecast"]
    forecast_data = await make_nws_request(forecast_url)

    if not forecast_data:
        return "Unable to fetch detailed forecast."

    # Format the periods into a readable forecast
    periods = forecast_data["properties"]["periods"]
    forecasts = []
    for period in periods[:5]:  # Only show next 5 periods
        forecast = f"""
{period["name"]}:
Temperature: {period["temperature"]}°{period["temperatureUnit"]}
Wind: {period["windSpeed"]} {period["windDirection"]}
Forecast: {period["detailedForecast"]}
"""
        forecasts.append(forecast)

    return "\n---\n".join(forecasts)
The get_alerts tool takes a two-letter US state code as input and returns a string containing any active weather alerts for that state. The get_forecast tool takes a latitude and longitude as input and returns a five-day weather forecast for that location. Both functions use the make_nws_request helper function to query the NWS API and then format the data into a human-readable string.
Step 5: Run the Server
Finally, we need to add the code to run our MCP server. Add the following lines to the end of your weather_server.py file:
def main():
    # Initialize and run the server
    mcp.run(transport="stdio")


if __name__ == "__main__":
    main()
This code defines a main function that calls the mcp.run() method to start the server. The transport="stdio" argument tells the server to communicate with the client over standard input and output. The if __name__ == "__main__": block ensures that the main() function is only called when the script is executed directly.
Your weather_server.py file is now complete! You can run it from your terminal to start the MCP server:
python weather_server.py
When you run this command, the server will start and wait for a client to connect. In the next section, we will look at how to connect to our server from an MCP client.
Conclusion
In this article, we have taken a comprehensive look at the Model Context Protocol (MCP) and walked through the process of building a simple yet practical MCP server. We started by understanding the core concepts of MCP, including resources, tools, and prompts. We then set up a Python development environment using uv and the FastMCP library. Finally, we built a weather server that exposes two tools for fetching weather alerts and forecasts, demonstrating how to interact with an external API and format the data for an LLM.
The Model Context Protocol represents a significant step forward in the standardization of AI application development. By providing a unified interface for connecting AI models with external systems, MCP empowers developers to create more powerful, extensible, and maintainable AI-driven applications. The knowledge and skills you have gained from this tutorial will serve as a solid foundation for exploring the more advanced features of MCP and building your own innovative integrations.
As you continue your journey with MCP, we encourage you to explore the official documentation, experiment with different tools and resources, and engage with the growing community of MCP developers. The possibilities are vast, and we are excited to see what you will build with the power of MCP.
References
[1] Model Context Protocol. (n.d.). What is the Model Context Protocol (MCP)? Retrieved from https://modelcontextprotocol.io/
[2] Model Context Protocol. (n.d.). Build an MCP server. Retrieved from https://modelcontextprotocol.io/docs/develop/build-server